


Resources
Outdoor Skills
106 bite-size wilderness tutorials — the kind of things you want in your head before you need them. Each skill is one screen: three to six steps, a tip, and any real warnings.
9 skills
Tools & Cordage
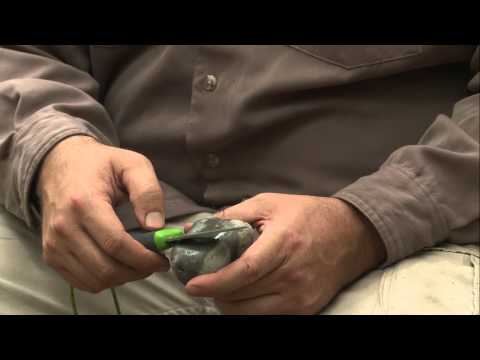
10 minSharpen a knife on a river stone
A smooth, flat river stone is a serviceable field whetstone.
- Pick a stone with a flat, fine-grained face. Wet it thoroughly.
- Hold the knife at roughly 20°: the thickness of two stacked coins between spine and stone.
- Sweep the edge across the stone like you're slicing a thin layer off it.
- Do 10-15 strokes per side, alternating until you feel a burr along the whole edge.
- Finish by stropping on your belt, denim, or the inside of a leather boot.
Tip: A knife sharp enough to shave the hair off your forearm is sharp enough.
Outdoor Life — Sharpen a Knife with a Rock

Tools & Cordage
20 minMake cordage from tree bark
Two-ply reverse-wrap cordage from inner bark is strong enough for a bow drill or shelter lashing.
- Strip long ribbons of inner bark from dead cedar, basswood, willow, or dogbane.
- Split the ribbons to pencil-lead thickness. Bunch them into two equal strands.
- Twist one strand away from you until it kinks, then bring the other strand over it.
- Twist the new top strand away, wrap it over — repeat, feeding in new fiber as strands thin.
- Splice new fiber staggered so the joints don't line up.
Far North Bushcraft — Willow Bark Cordage
Tools & Cordage
15 minThe four knots that matter
Skip the rest until these are automatic.
- Bowline — a fixed loop that never slips or jams. Rescue, anchoring, tarps.
- Taut-line hitch — an adjustable loop for tent guy lines. Tighten or loosen by hand.
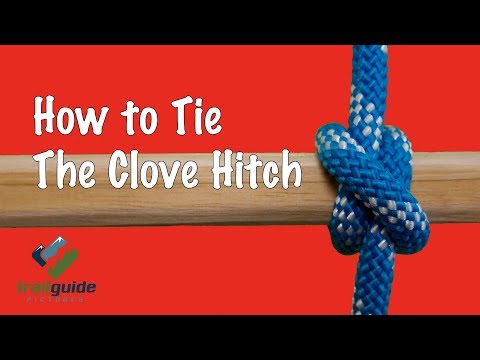
- Clove hitch — quick attachment to a pole or post. Great for starting lashings.
- Trucker's hitch — a pulley for tensioning a line. Ridge lines, cargo, tarps in wind.
Tip: Practice each 20 times with cold, wet hands and eyes closed. That's field-ready.
Trailguide — Clove Hitch (start here)
Tools & Cordage
10 minSplit wood safely with a knife (batoning)
Batoning is a controlled technique for splitting small wood with a fixed-blade knife when no axe is available.
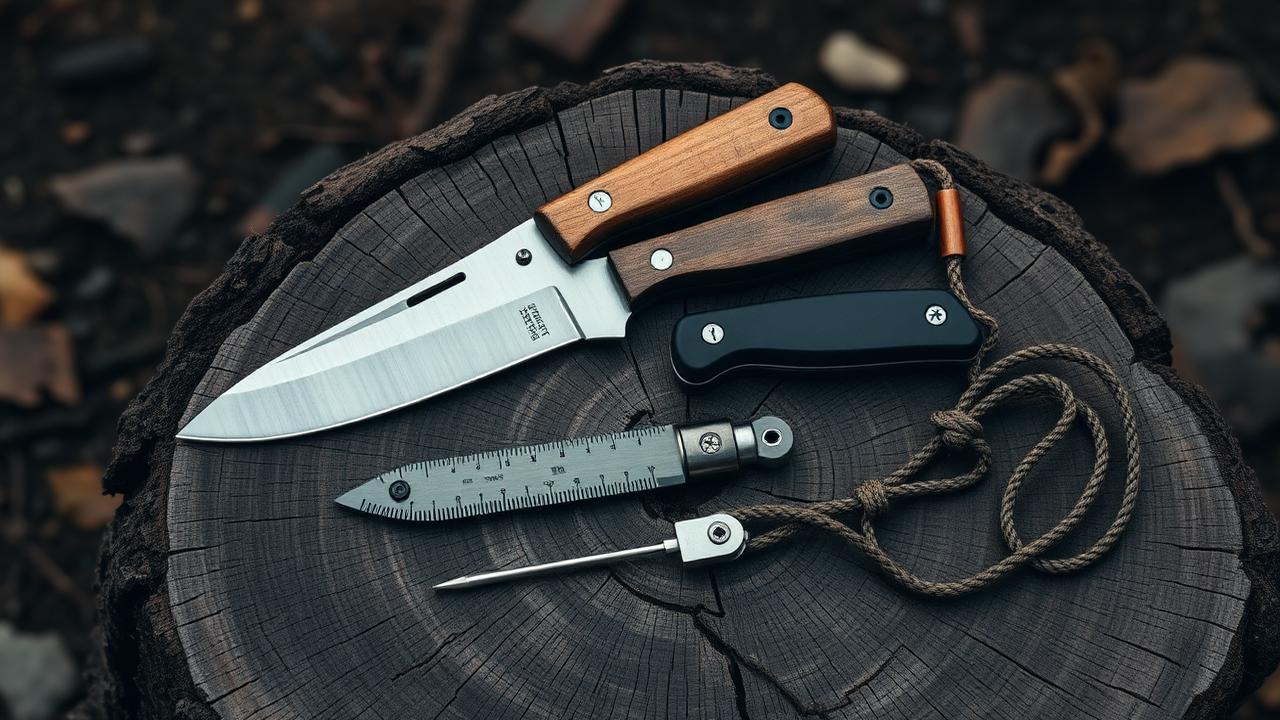
- Use only a full-tang, fixed-blade knife with a spine at least a quarter-inch thick — folding knives will fail.
- Set the round upright on a stable log platform, place the knife edge across the top, and tap the spine with a wooden baton (never metal).
- Once the blade is seated, strike the tip of the spine with progressively firmer taps until the wood splits.
- Keep your off hand well clear of the blade and split path.
- Choose small rounds (wrist-thick or less); larger wood requires an axe, not a knife.
Warning: Batoning stresses knives. Never baton knots, and stop the moment the blade shows lateral flex or the handle scales loosen.
Tools & Cordage
30 minTwist cordage from plant fiber
Two-ply reverse twist cordage from plant fiber is stronger than either strand alone and holds up for real work.
- Harvest long, flexible fiber — inner bark of dead cedar, willow, or basswood; nettle stems; yucca leaves; or dogbane.
- If needed, pound and separate the fibers by rolling between palms until they're soft and uniform.
- Bundle the fibers into a strand as thick as bootlace, tie a loop at the middle, and twist one strand away from you between thumb and forefinger.
- Simultaneously twist the second strand the same direction, then wrap them around each other in the opposite direction.
- Splice in new fiber before old strands run out by adding fresh material into the untwisted end and continuing the twist.
Tip: Test each finished length by pulling hard — cordage that fails now is better than cordage that fails on a shelter ridgepole in the rain.
Tools & Cordage
15 minBuild a hobo stove from a tin can
A large tin can with holes cut for airflow makes a fuel-efficient stove that concentrates heat under a pot.
- Take a large clean can (46 oz coffee or #10 food can), open the top completely, and clean any residue.
- Punch a ring of thumb-sized ventilation holes around the top edge with a knife tip or punch.
- Cut a fuel door in the side near the bottom — about 2 inches wide by 2 inches tall — bending the flap up and inside.
- Punch a second ring of intake holes around the bottom edge to feed air to the fire from below.
- Set on stable ground, feed pencil-thick sticks through the fuel door, and set your pot directly on top.
Tip: A hobo stove needs 90% less wood than an open fire for the same cooking task. Great for boil-only meals when fuel is scarce.
Tools & Cordage
15 minSharpen an axe with a file
A dull axe is more dangerous than a sharp one. A basic mill file returns a working edge in minutes.
- Wedge the axe head firmly — vise, split log, or between two logs staked to the ground.
- Push the file diagonally across the bit from heel to toe, edge trailing, in one direction only.
- Keep the file flat against the existing bevel — don't rock it. Consistent angle is more important than pressure.
- Alternate sides after every 10 strokes to keep the bevel even; work until you feel a small burr along the entire edge on the opposite side.
- Remove the burr with a few gentle strokes of a smooth stone or leather strop.
Warning: Always push the file away from your body and keep your other hand behind the file, never in front of the edge.

Tools & Cordage
20 minCarve a bushcraft pot hook
A notched pot hook lets you hang a kettle over a fire and adjust the heat by moving the hook up or down.
- Cut a green, wrist-thick vertical stake and drive it firmly into the ground beside the fire.
- Carve a horizontal arm from a straight branch with a hooked notch at the outboard end.
- Cut a series of notches down the upright stake at different heights.
- Hang the arm on the upright so the hook points toward the fire; the arm's weight locks it in place.
- Hang your pot from the hook and move the arm to a higher or lower notch to boil or simmer.
Tip: Use green wood for the upright — dry wood can char and weaken over a long fire.
Woods and Rocks — Build a Pothanger with your Knife

Tools & Cordage
30 minCarve a wooden mallet
A wooden mallet drives stakes, batons kindling, and pounds fibers without damaging metal tools.
- Select a green hardwood branch with a natural fork or side branch for the head.
- Cut the handle to a comfortable length — about the distance from your elbow to your fingertips.
- Whittle the handle round and smooth, leaving a slight flare where it meets the head.
- Shape the head thick and heavy; a short, stout head delivers more force than a long thin one.
- Test the balance and trim until it feels like an extension of your arm.
Tip: Green wood is easier to carve but will crack as it dries. If you want a long-lasting mallet, use seasoned wood and go slowly.
Bracken Outdoors — Mallet Making
Educational reference only. Wilderness conditions change fast — practice in low-stakes settings, take a certified wilderness first-aid course, and confirm regional regulations (fire, fishing, foraging, snaring) before you rely on any of these skills in the field.