


Resources
Outdoor Skills
106 bite-size wilderness tutorials — the kind of things you want in your head before you need them. Each skill is one screen: three to six steps, a tip, and any real warnings.
11 skills

Shelter
90 minBuild a debris hut
A debris hut is the warmest one-person shelter you can build with no cordage.
- Prop a stout ridgepole (twice your height) between a low fork and the ground.
- Lean ribs of sticks along both sides at 45°, packed tight enough to hold leaves.
- Pile leaves, ferns, or grass on the outside — three feet deep everywhere.
- Stuff the inside with dry leaves until you have to burrow in.
- Plug the entrance behind you with a backpack or a bundle of debris.
Tip: If a raccoon couldn't push through the wall, it's thick enough to hold body heat.
Tom Brown III — Survival Shelter

Shelter
20 minSite a tarp for wind and rain
Where you pitch matters more than what you pitch.
- Skip valley bottoms — cold air pools there overnight.
- Skip ridge tops — wind hammers exposed sites.
- Look mid-slope, back into a treeline, with the closed end into the wind.
- Check overhead for widow-makers: dead branches, leaning trees, loose rock.
- Pitch the low end downhill so water runs away, not under your bag.
TA Outdoors — 15 Tarp Shelter Setups

Shelter
30 minInsulate a sleeping platform
The ground steals more heat than the air. A bed of debris is warmer than any bag on bare dirt.
- Rake a bed area longer than you are tall and twice as wide as your shoulders.
- Lay a base of small logs or thick branches across the bed.
- Pile springy conifer boughs, dry grass, or ferns on top — four inches compressed, eight before you lie on it.
- Frame the sides with logs so debris doesn't squirt out overnight.
- Add a hot-rock heater at the foot if you have a fire going nearby.
Botanik Bushcraft — Shelter Build

Shelter
45 minDig a one-night snow trench
A trench is faster than a quinzhee and warmer than a tarp when you have snow but no time.
- Find snow at least chest-deep. Test-probe with a stick for hidden rocks and roots.
- Dig a body-length trench slightly wider than your shoulders and knee-deep below the trench floor.
- Roof it with skis, poles, or sturdy branches laid across the top, then blocks of cut snow.
- Leave a small vent hole for CO₂ and mark it from outside with a ski or stick.
- Line the floor with a pad or thick bough bed before you get in.
Warning: Never seal a snow shelter completely — suffocation is a real risk without a vent.
Gone Feral — Snow Trench Shelter
Shelter
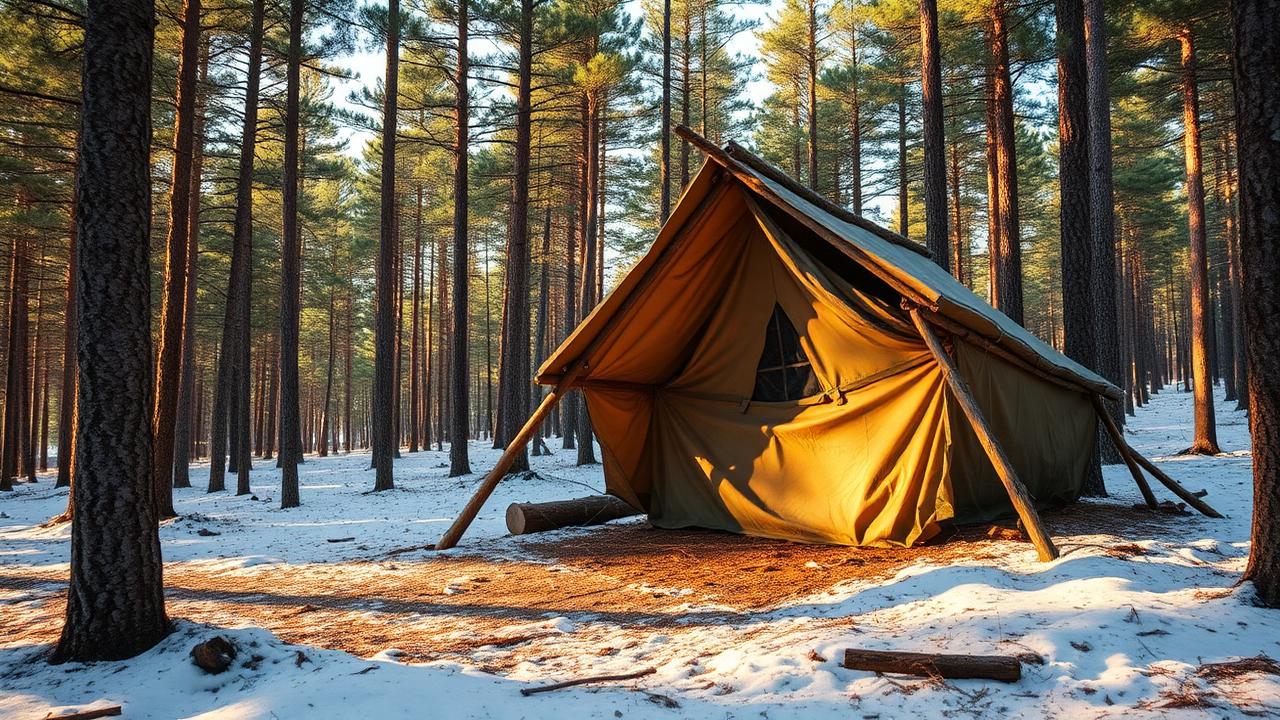
60 minBuild a lean-to shelter
A lean-to is the fastest heat-retaining shelter when you have a fire — one wall reflects, the other opens to the flame.
- Find two trees 6–8 feet apart, or set two forked uprights, and lash a strong ridgepole between them at head height.
- Lean straight poles from the ridgepole to the ground at roughly a 45° angle, spaced a hand-width apart.
- Weave finer branches horizontally through the poles to create a lattice.
- Thatch from the bottom up with overlapping bark slabs, boughs, or leafy branches — each layer overlaps the one below like shingles.
- Build your fire and reflector wall parallel to the open face, about 4–6 feet away.
Tip: Face the open side away from prevailing wind and toward your fire. Even a small breeze on the opening kills the shelter's warmth.
Shelter
45 minBuild an A-frame emergency shelter
An A-frame sheds rain from both sides and is the go-to when you have no fire — it retains body heat inside a compact space.
- Lash or wedge a ridgepole between a low tree fork and a shorter forked stick driven into the ground.
- Lean pairs of ribs against the ridgepole from both sides, angled at about 45°, spaced a hand-width apart.
- Add a horizontal lattice of finger-thick sticks over the ribs.
- Thatch heavily with leaves, boughs, or grass — at least a forearm-thick layer to shed rain and hold heat.
- Stuff the interior with dry debris to sleep on and pack extra debris against your body once inside.
Warning: Never run an open flame inside an enclosed A-frame — this is a body-heat shelter only.
Shelter
15 minRig a plow-point tarp shelter
One corner tied high, opposite two staked low — the fastest one-tarp storm shelter for a solo camper.
- Tie one corner of a square tarp to a tree or pole at chest height.
- Stake the diagonally opposite corner directly to the ground with a stout stake and taut cord.
- Stake the two remaining side corners out low on either side to form a wide triangular opening.
- Adjust tension until the tarp is drum-tight — a loose tarp flaps and collects water in bellies.
- Aim the tall opening 90° away from the wind, then build your fire in front of it if conditions allow.
Tip: If the wind shifts, loosen the high corner, rotate the whole shelter, and re-tension in under a minute — no need to rebuild.
Shelter
45 minThatch a shelter to shed rain
Thatching by shingle principle — bottom up, overlapping — turns loose vegetation into a working roof.
- Build a lattice frame with horizontal ribs no more than a hand-span apart.
- Start at the lowest rib and lay bundles of boughs, grass, or bark with tips pointing down and butts pointing up.
- Overlap each new bundle at least halfway over the one below.
- Work all the way to the ridge, packing each course tight against the one under it.
- Test by running a hand along the outside — you should not feel any gap where sky is visible through the thatch.
Tip: A rule of thumb: if you can see daylight through your thatch when you lie under it, it will leak in a real rain.
Shelter
15 minAnchor a tarp or tent for a storm
Standard stakes fail in wind and wet ground. Storm anchors keep your shelter down when weather turns.
- Replace stakes with deadman anchors — bury a stick, rock, or stuff sack full of gravel horizontally with the guyline tied around it.
- In snow, dig a T-slot: cut a channel across the guy direction, lay a stake or stuff sack horizontally, and pack snow over it.
- Add secondary guylines from mid-panel tie-outs on every wall — not just corners.
- Angle guylines at 45° from the tarp to the anchor for the strongest pull-through-shear geometry.
- Re-tension every 2–4 hours during a long storm as ground softens and cords stretch when wet.
Tip: Cut short (4-inch) toggles from sticks and larks-head your cord around them — they hold better than tied loops when guys need to be adjusted repeatedly.

Shelter
90 minDig a snow cave
A snow cave traps body heat and blocks wind, turning a deadly storm into a survivable night.
- Find deep, stable snow on a lee slope or drift — not avalanche terrain.
- Dig an entrance tunnel lower than the sleeping platform so cold air sinks away from you.
- Hollow out a domed chamber large enough to lie in; keep the roof at least 1 foot thick.
- Poke a vent hole through the roof with a stick to prevent CO₂ buildup.
- Line the floor with pads, packs, or boughs and mark the entrance from outside with a ski or branch.
Warning: Never seal a snow cave airtight. Suffocation from exhaled CO₂ is a real risk without ventilation.
Ray Mears — Building a Snow Cave

Shelter
120 minBuild a wickiup
A wickiup is a dome-shaped shelter of poles and brush that sheds wind and holds a small fire's warmth.
- Set three or more stout poles in a tripod and lean additional poles around them in a cone.
- Tie the poles at the top with cordage or green bark strips.
- Weave thinner branches horizontally between the poles to create a lattice.
- Thatch the outside with grass, reeds, bark, or boughs, overlapping like shingles from bottom to top.
- Leave a small smoke hole at the apex and a low doorway you can close with a hide or brush mat.
Tip: A wickiup is stronger and warmer than it looks. Pack the thatch thick enough that no daylight shows through.
UglyTent Bushcraft — Wickiup Shelter
Educational reference only. Wilderness conditions change fast — practice in low-stakes settings, take a certified wilderness first-aid course, and confirm regional regulations (fire, fishing, foraging, snaring) before you rely on any of these skills in the field.