


Resources
Outdoor Skills
106 bite-size wilderness tutorials — the kind of things you want in your head before you need them. Each skill is one screen: three to six steps, a tip, and any real warnings.
13 skills

Food
15 minSet a simple wire snare
A well-placed snare beats a well-tied one. Read the trail before you set anything.
- Find a fresh, narrow game trail — droppings, tracks, low-brushed vegetation.
- Choose a natural pinch point where brush forces animals through single-file.
- Form a loop in snare wire the size of a fist for rabbits, larger for bigger game.
- Suspend the loop over the trail so the bottom sits at the animal's chin height.
- Anchor to a sapling or heavy branch. Brush around the loop so animals can't sidestep.
Warning: Check local law — snaring is regulated everywhere and prohibited in many places outside survival need.
Clay Hayes — 5 Survival Traps & Snares

Food
20 minIdentify wild edibles safely
You don't have to know every plant — you have to know a few, cold.
- Learn 5-10 edible species in your home region with 100% ID confidence — leaf, stem, fruit, and habitat.
- Learn their toxic look-alikes at the same time.
- Positive ID means multiple features match, not just one.
- Never rely on the Universal Edibility Test in the field — it's slow, error-prone, and can hurt you.
- When in doubt, leave it out.
Warning: Some deadly plants (water hemlock, false hellebore, death camas) resemble common edibles. Guess = don't eat.
Robin Greenfield — Easy Edible Plants

Food
30 minFish with a hand line
A hand line and a hook out-fish most improvised setups.
- Wrap 30-50 ft of line around a smooth stick or bottle to keep it tangle-free.
- Tie on a small hook and a stone or split-shot for weight.
- Bait with grubs from under bark, worms from wet soil, or minnows caught with a shirt seine.
- Cast underhand from cover; let the bait sink to where fish hold — undercut banks, log jams, current seams.
- Set the hook with a firm wrist snap the moment you feel the tap.
Tip: Fish are more active at dawn and dusk. If nothing hits in 15 minutes, move.
Fishing Yoyito — Simple Hand Reels
Food
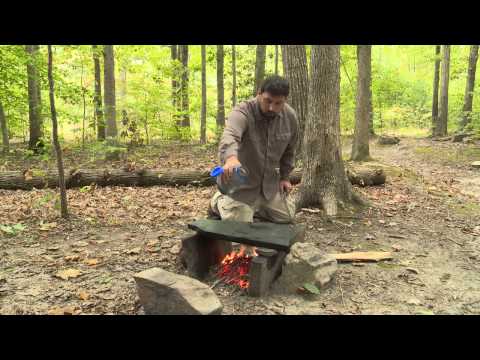
20 minCook on a hot rock
A flat, dry rock in the coals is a griddle for fish, meat, and bannock.
- Pick a flat, dry rock from well above the waterline — never from a stream or lakeshore.
- Bury it in the fire's coals for 20 minutes so it heats evenly.
- Brush off ash. Test with a drop of water — it should sizzle and skip.
- Lay fish or meat directly on the rock; flip once when the underside releases cleanly.
Warning: Wet or river rocks trap steam and can explode in a fire.
Outdoor Life — Cook Food on a Rock
Food
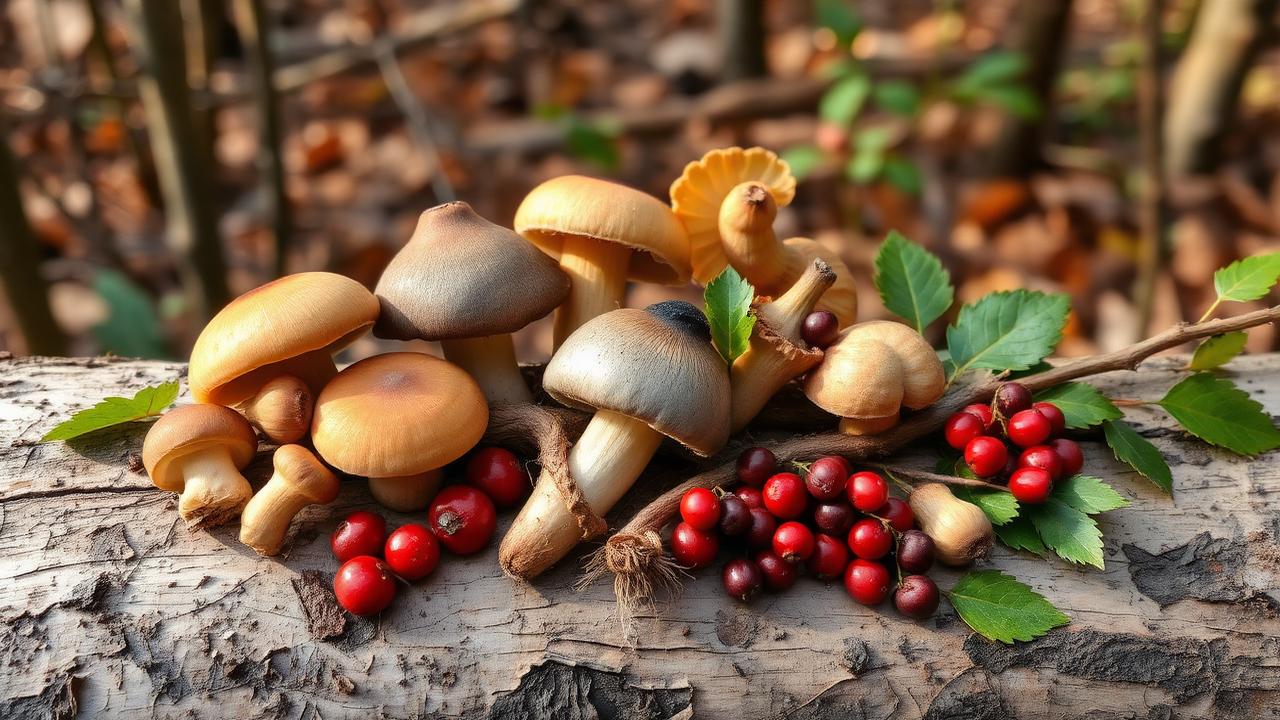
20 minUse cattail as an emergency food
Cattail is one of the most calorie-rich wild foods on the continent — the 'supermarket of the swamp' — and edible in all four seasons.
- Positively identify cattail: tall bladed leaves and the distinctive brown hot-dog seed head. It grows only in shallow standing fresh water.
- In spring, peel young shoots at the base and eat the tender white core raw or cooked like leek.
- In late spring, boil the green immature flower heads like corn on the cob.
- In summer, collect the yellow pollen by shaking flower heads into a bag and use it as a flour extender.
- In fall and winter, dig the starchy rhizomes, peel, and either roast whole or crush in water to separate the starch.
Warning: Only harvest cattail from clean water. Cattail bioaccumulates heavy metals and agricultural runoff from polluted sources.
Food
25 minSet a figure-four deadfall trap
A simple three-stick trigger drops a heavy weight when a small animal disturbs the baited trigger stick.
- Cut three sticks: a vertical post, a diagonal, and a horizontal trigger — each about pencil-thick and 6–8 inches long.
- Cut a chisel point on top of the post, a matching notch on the top of the trigger, and a locking notch where the diagonal crosses the post.
- Assemble so the diagonal locks between the post's chisel point and the trigger's notch, holding a flat weight (rock, log slab) above.
- Bait the outboard end of the trigger with something the target animal actively seeks in the current season.
- Set several traps along runs and near feeding sign — check at least twice daily and dispatch caught animals immediately.
Warning: Trapping laws vary widely. In non-survival conditions, only trap where legal, in season, and with a valid license.
Food
15 minGut and clean a small game animal
Cleaning a squirrel or rabbit within an hour of the kill prevents spoilage and gets useful meat off a small carcass.
- Make a shallow cut through the skin and belly wall from breastbone to pelvis, careful not to puncture the gut.
- Reach in, sever the diaphragm around the ribcage, and pull all internal organs out in one connected mass.
- Cut around and remove the anus and any waste-carrying tissue with a clean margin.
- Rinse the body cavity thoroughly with clean water and let it drain.
- Skin by pulling firmly toward the head or tail depending on species, then quarter and cook thoroughly.
Warning: Never eat any animal that looked sick, had visible parasites, ulcers, spots on the organs, or unusual smell. Cook all wild meat well-done.
Food
45 minBuild a fish basket trap
A conical willow basket set in a narrow channel can catch panfish, minnows, and crayfish while you attend to other tasks.
- Cut a bundle of long, flexible willow or dogwood switches.
- Bind one end of the bundle tight, then splay the switches into a cone shape and weave horizontal ribs around them.
- Weave a second, smaller cone that fits inside the mouth of the first, opening inward — this is the funnel that lets fish in but not out.
- Set the trap in a narrow channel, at an eddy tail, or in the outflow of a beaver dam, with the funnel facing upstream.
- Bait with crushed grasshoppers, worms, or fish scraps and check every 4–6 hours.
Warning: Fish traps are illegal in most jurisdictions outside a documented survival emergency. Know your local laws before setting one.
Food
20 minImprovise a fishing hook
A gorge hook or thorn hook can catch panfish and small trout when you have no store-bought tackle.
- Gorge hook: cut a straight sliver of hardwood 1–2 inches long, sharpen both ends, and notch the center so line ties around it.
- Bait with a worm, grub, or insect so the gorge is hidden lengthwise inside the bait.
- When a fish swallows the bait, it also swallows the gorge; a firm pull rotates it crossways in the throat.
- Alternatively, use a strong thorn tied to a stem so the thorn projects at an angle — same principle as a J-hook.
- Set multiple lines and check often; improvised hooks work but they lose fish that manufactured hooks would hold.
Warning: Improvised fishing techniques are only legal in a documented survival emergency in most areas. Know local regulations.
Food
180 minCook in an earth oven
An earth oven bakes fish, roots, and meat with steady buried heat — no pot required and impossible to burn dinner.
- Dig a pit about twice the size of what you're cooking, and line the bottom and sides with fist-sized rocks.
- Build a hot fire in the pit and burn it hard for 60–90 minutes until the rocks are glowing.
- Rake out any large embers, lay a thick pad of green leaves or grass over the rocks, then place food (wrapped in more leaves) on the pad.
- Cover with another thick pad of green vegetation, then a layer of dirt sealing all air.
- Wait 2–4 hours — small fish and roots take about 2 hours; meat takes 3–4. Open only when ready to eat, since opening halts cooking.
Tip: Add a stick as a poker before you seal the oven. Pull it out to check without disturbing the whole cover.

Food
120 minProcess acorns into edible flour
Acorns are a high-calorie staple once the bitter tannins are leached out.
- Collect ripe acorns and discard any with holes, mold, or dark stains.
- Shell them by cracking with a rock or hammer, then remove the papery skins.
- Grind the nutmeats into coarse meal using a mortar and pestle, two stones, or a blender at home.
- Leach the tannins by placing the meal in a cloth bag and running cold water through it until the water no longer tastes bitter.
- Spread the meal to dry, then use as flour for porridge, bread, or pancakes.
Warning: Unleached acorns are high in tannins and will cause nausea. Taste-test the water runoff — if it's bitter, keep leaching.
Insteading — Eating Acorns: Forage, Store & Cook

Food
180 minMake pemmican
Pemmican is dried meat, rendered fat, and sometimes berries — a shelf-stable, calorie-dense food that lasts for months.
- Dry lean meat into jerky until it cracks, not bends.
- Pound the jerky into a fine powder or shred it as fine as possible.
- Render fat slowly over low heat until the liquid is clear and the solids have separated.
- Mix the dried meat with hot rendered fat at roughly 1:1 ratio by weight; add dried berries if you have them.
- Pack into a mold or bag while warm, then cool until firm.
Tip: The fat must fully coat every particle of meat to exclude air and prevent spoilage. Cut open a test piece — no dry meat should be visible.
2 Guys & A Cooler — Making Pemmican

Food
15 minBrew pine needle tea
Pine needles are rich in vitamin C and make a warming tea when you need a morale boost in the cold.
- Positively identify a pine or fir tree — needles grow in bundles of two to five for pines, flat and single for firs.
- Avoid yew, Norfolk Island pine, and ponderosa pine, which can be toxic.
- Collect a small handful of fresh green needles from young growth.
- Chop the needles and steep them in hot — not boiling — water for 5–10 minutes.
- Strain and drink. The flavor is citrusy and resinous.
Warning: Pregnant women should avoid pine needle tea. When in doubt about the species, don't drink it.
Off The Path Learning — White Pine Needle Tea
Educational reference only. Wilderness conditions change fast — practice in low-stakes settings, take a certified wilderness first-aid course, and confirm regional regulations (fire, fishing, foraging, snaring) before you rely on any of these skills in the field.